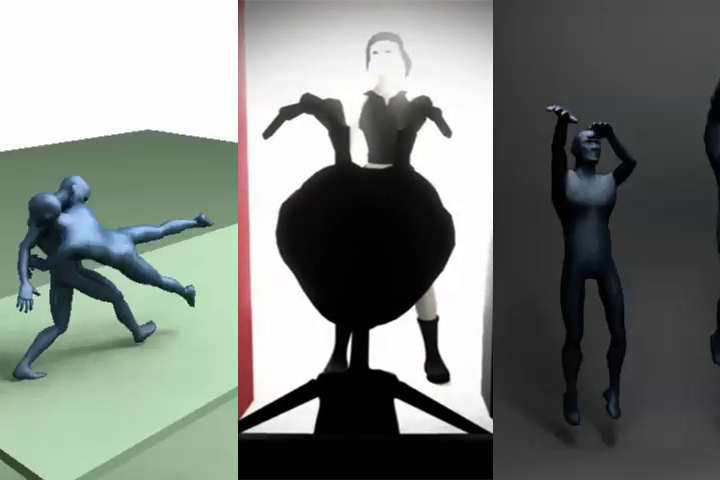
Motion Capture was a class that I certainly underestimated. Not in the fact of content, but that I didn’t realize how intuitive and dense the material was that we would be learning. The idea of capturing data through infared sensors and retro-reflective tape to transfer into 3D motion on a computer is just so amazing that it’s mind-boggling this technology isn’t in every institution that offers a CG major.
So, let me break this one down for you: This month was awesome! Besides learning a few really difficult programs that involve MoCap data (Cortex and MotionBuilder) it was really great to see a sequence of animation play out so easily, instead of having to set keys and breakdowns and in-betweens and all that other traditional stuff. Welcome to the new way of animation!
So, for starters, we were introduced to Cortex, the software that simulates the Volume (the room referred to as being where the cameras capture the data being processed) and captures where the retro-reflective sensors are on the person being captured. Very intuitive software. It records the points and markers of the sequence and keeps them until the actor goes back into t-pose and ends the sequence.
When the markers are captured in real time, they need to be assigned to a template ID, which tells the computer which marker represents which part of the body. Sometimes during capture the markers are hidden, and they need to be re-evaluated in order to be used in MotionBuilder properly. This next job comes in as the equivalent of ‘flipping burgers,’ as someone must go into Cortex and reassign markers, and use linear, curve, or virtual join to place the markers properly for a clean transition.
After the tracking of the markers have been completed, the track is brought into MotionBuilder, where it is assigned to an Actor that takes that motion and puts it to a character. When the markers have been assigned to their appropriate parts of the body, the action is complete and a rigged character is imported into the scene. When it has been imported, the next option is to characterize the skeleton, and add a control rig. When that has been completed, the next step is to put the action of the actor to the control rig, and voila! – the action has been applied to the character. Then there’s a few things to put in, like finger motion, layering animation to add different action or having a better silhouette.
We also learned a bit of a program called Endorphin, which as I sort of misinterpreted as a drug, and it turns out it’s so much fun! Basically, it’s a program that creates dynamic motion and simulation with something similar to rag-doll physics. Here’s their website if you need better clarification.
So what did I have to do with Endorphin? Just a 6-fall animation using premade animations and the dynamic system that Endorphin is renowned about. Something like this would take so long to do, but with this magic little tool it’s easy to do!
So, for the final project for the class, I paired up with fellow classmates to collaborate on an animation to be finalized and rendered in a two week process.
What I did as far as the project is concerned was the general direction of the animation. I brought the group together to complete this project in a timely manner. I also took out time from my schedule to solve rendering tricks that will make final render be amazingly fast. Some of these tricks where the cascading lights fall from the ceiling, and the occlusion in the environment. Some of these tricks helped make 13 second renders per frame, which was amazing compared to the 3 minute renders I was getting while trying to use real lights. Just for a hint: the the whole scene there is not a single light used in the animation (excluding the ending). That includes no point light, spot light, area light, directional light, etc. It was all made possible using diffuse and incandescence, and glow. Nifty huh? Well without further ado, here’s the final product of the class!:
– endy

